

First steps
This page takes you from your first sign-in to a team with a few issues, using the keyboard most of the way. If you run XLR8 locally with sample data, you can skip to Move through the list.
Sign in
Section titled “Sign in”Open your instance, for example https://xlr8.example.com/. The landing page appears. Click
Sign in and sign in with the Clerk account you added to XLR8_OWNER_IDS.
You land in an empty workspace on the Inbox: “The inbox is empty. Issues that agents create show up here until you remove the entry.” The sidebar shows Inbox, Triage, All issues and Sprint, and below them a Teams heading with a + button. There are no teams yet, and every issue belongs to a team, so a team comes first.
If you see No access instead, see the troubleshooting on the web app page.
Create your first team
Section titled “Create your first team”A team is an area of work: a product, a client, a side project. Each team has a short key that
starts every issue identifier, such as ACME-42.
-
Open the Add team dialog: click + next to Teams in the sidebar, press O then N, or choose Add team … in the command menu.
-
Enter a Name, for example
Acme. XLR8 suggests a Key from the name (ACME). You can change it: 2 to 6 characters, capital letters and digits, starting with a letter. You can change the key later only while the team has no issues, so pick one you like. -
Optional: upload a Logo (SVG or PNG, square, at most 256 KB).
-
Under Content, keep Issues. Issues and knowledge adds a knowledge area with pages next to the issues; Knowledge only makes a team for pages without issues. See Knowledge.
-
Click Create team.
XLR8 switches to the new team. It starts with these statuses: Triage, Backlog, Todo, In Progress, In Review, Done, Canceled and Duplicate. You can rename, add and reorder statuses later in the team settings (see Workflow). More about teams: Teams.
Create issues
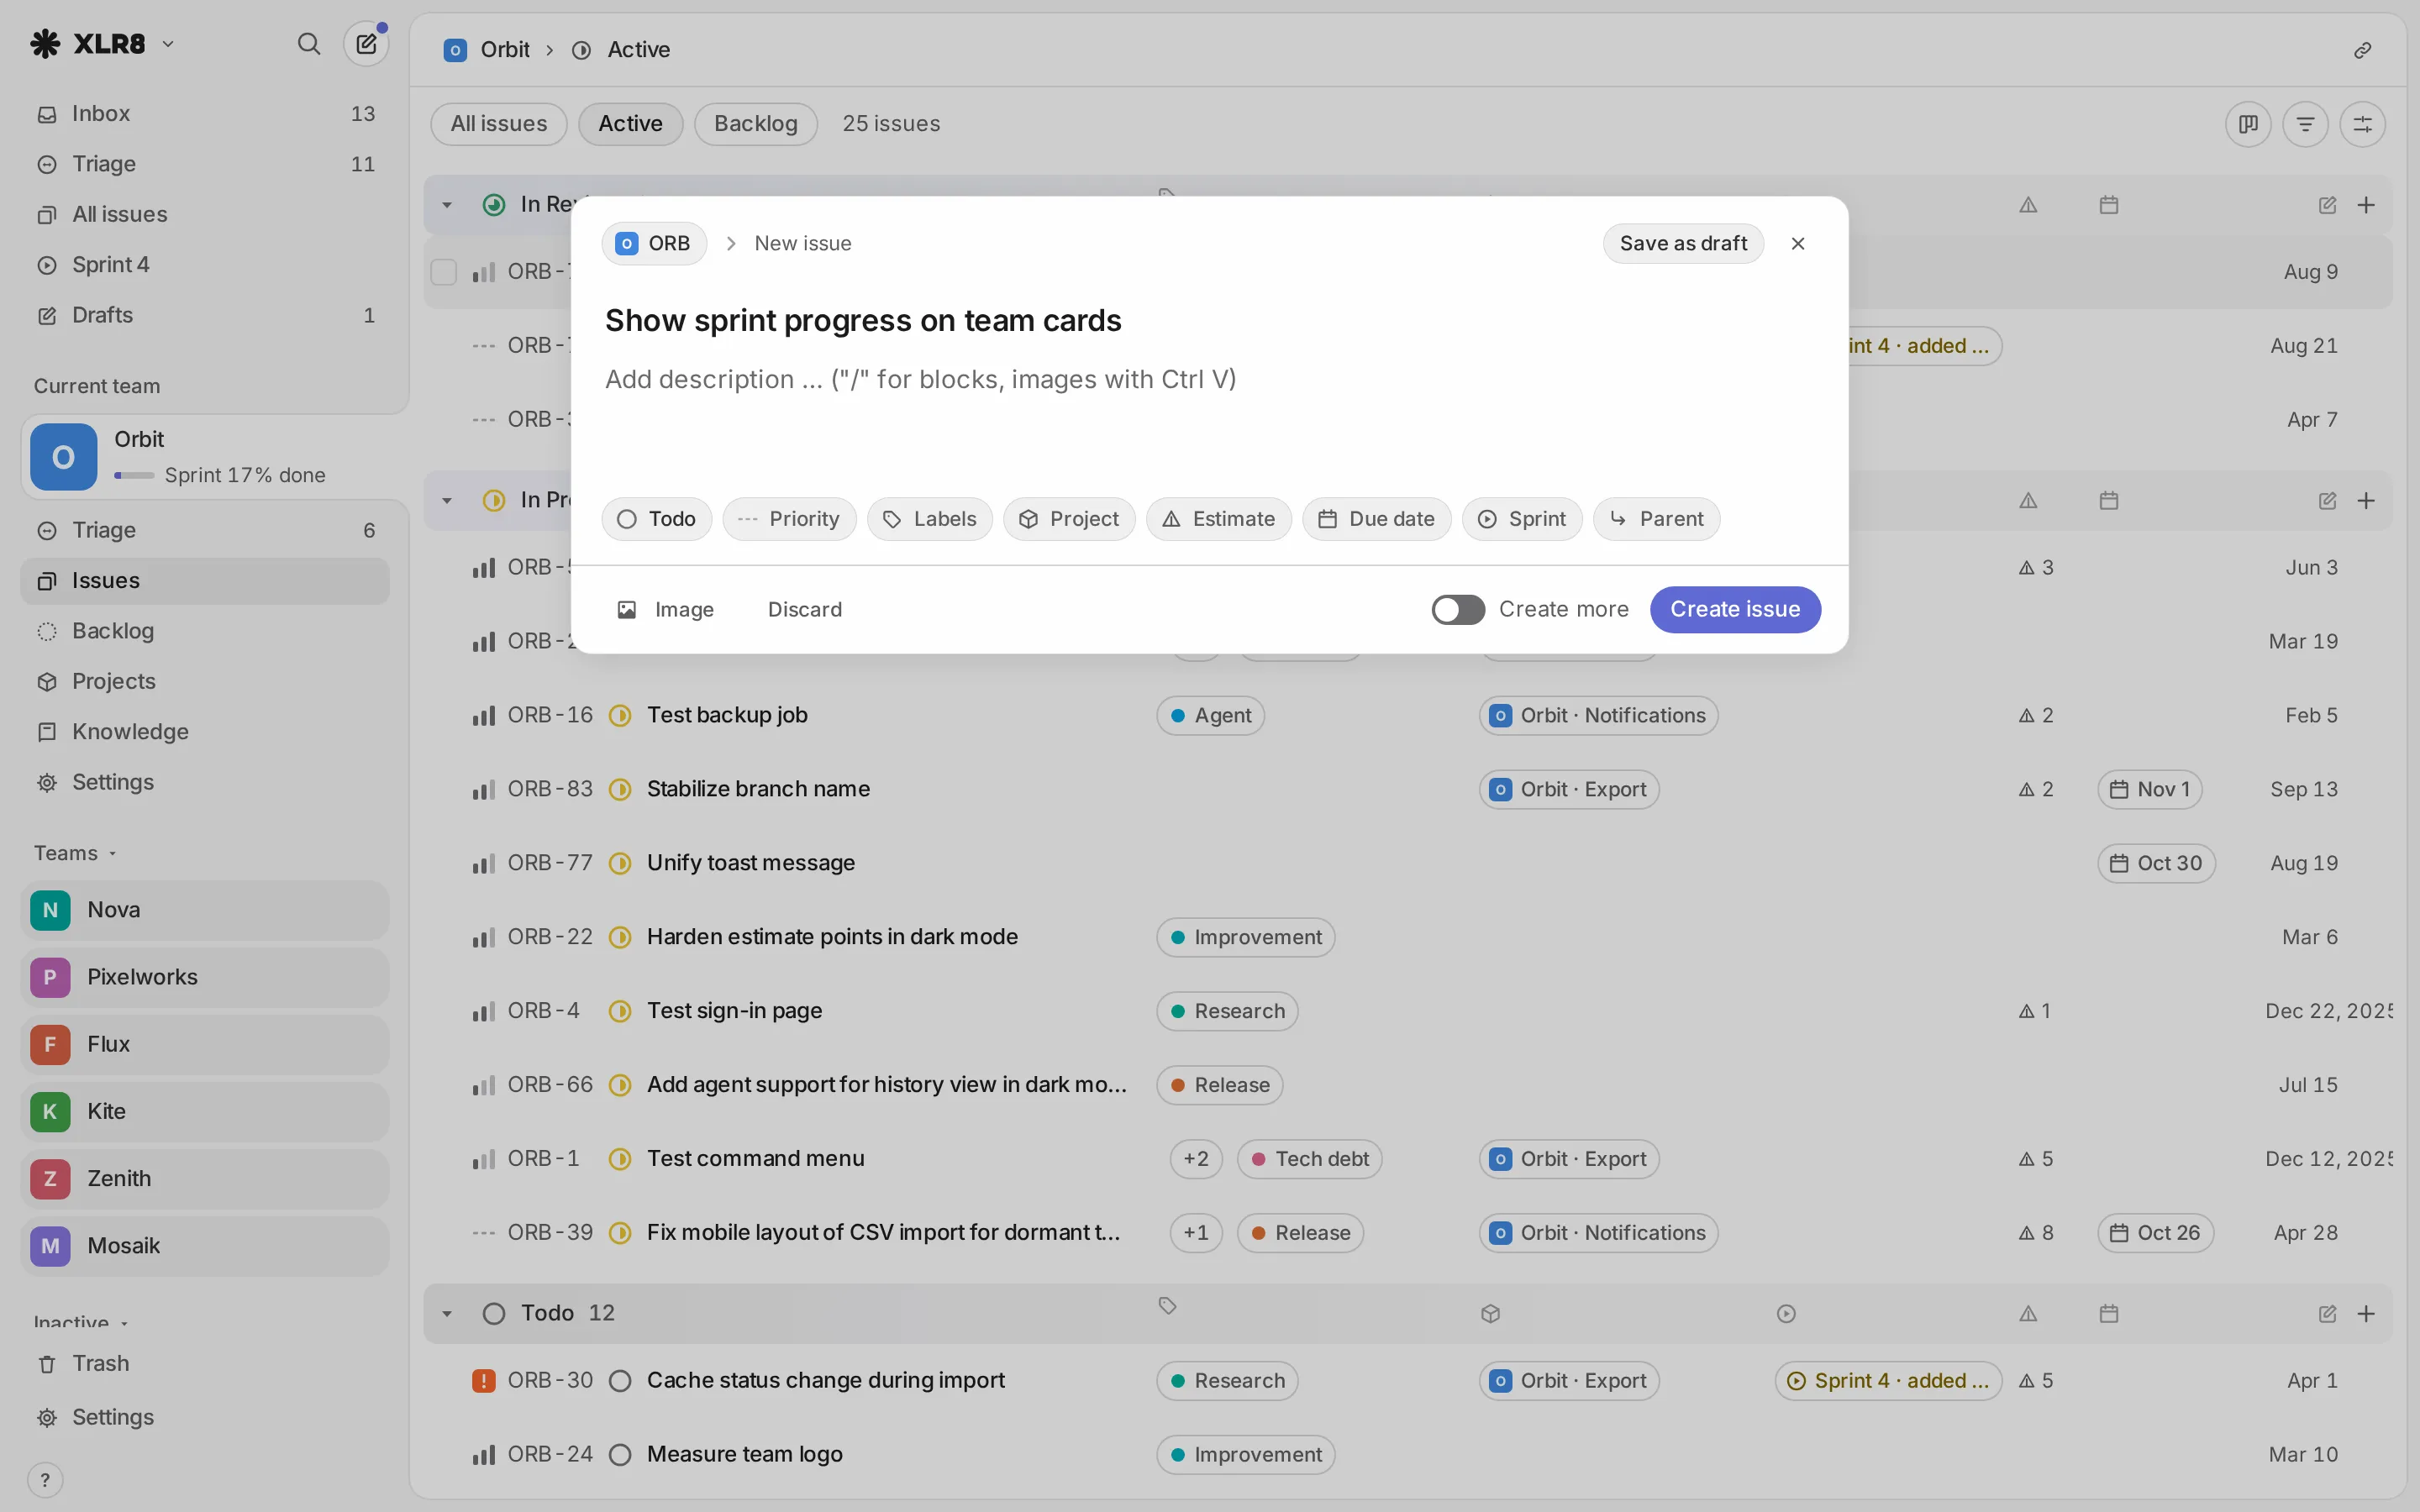
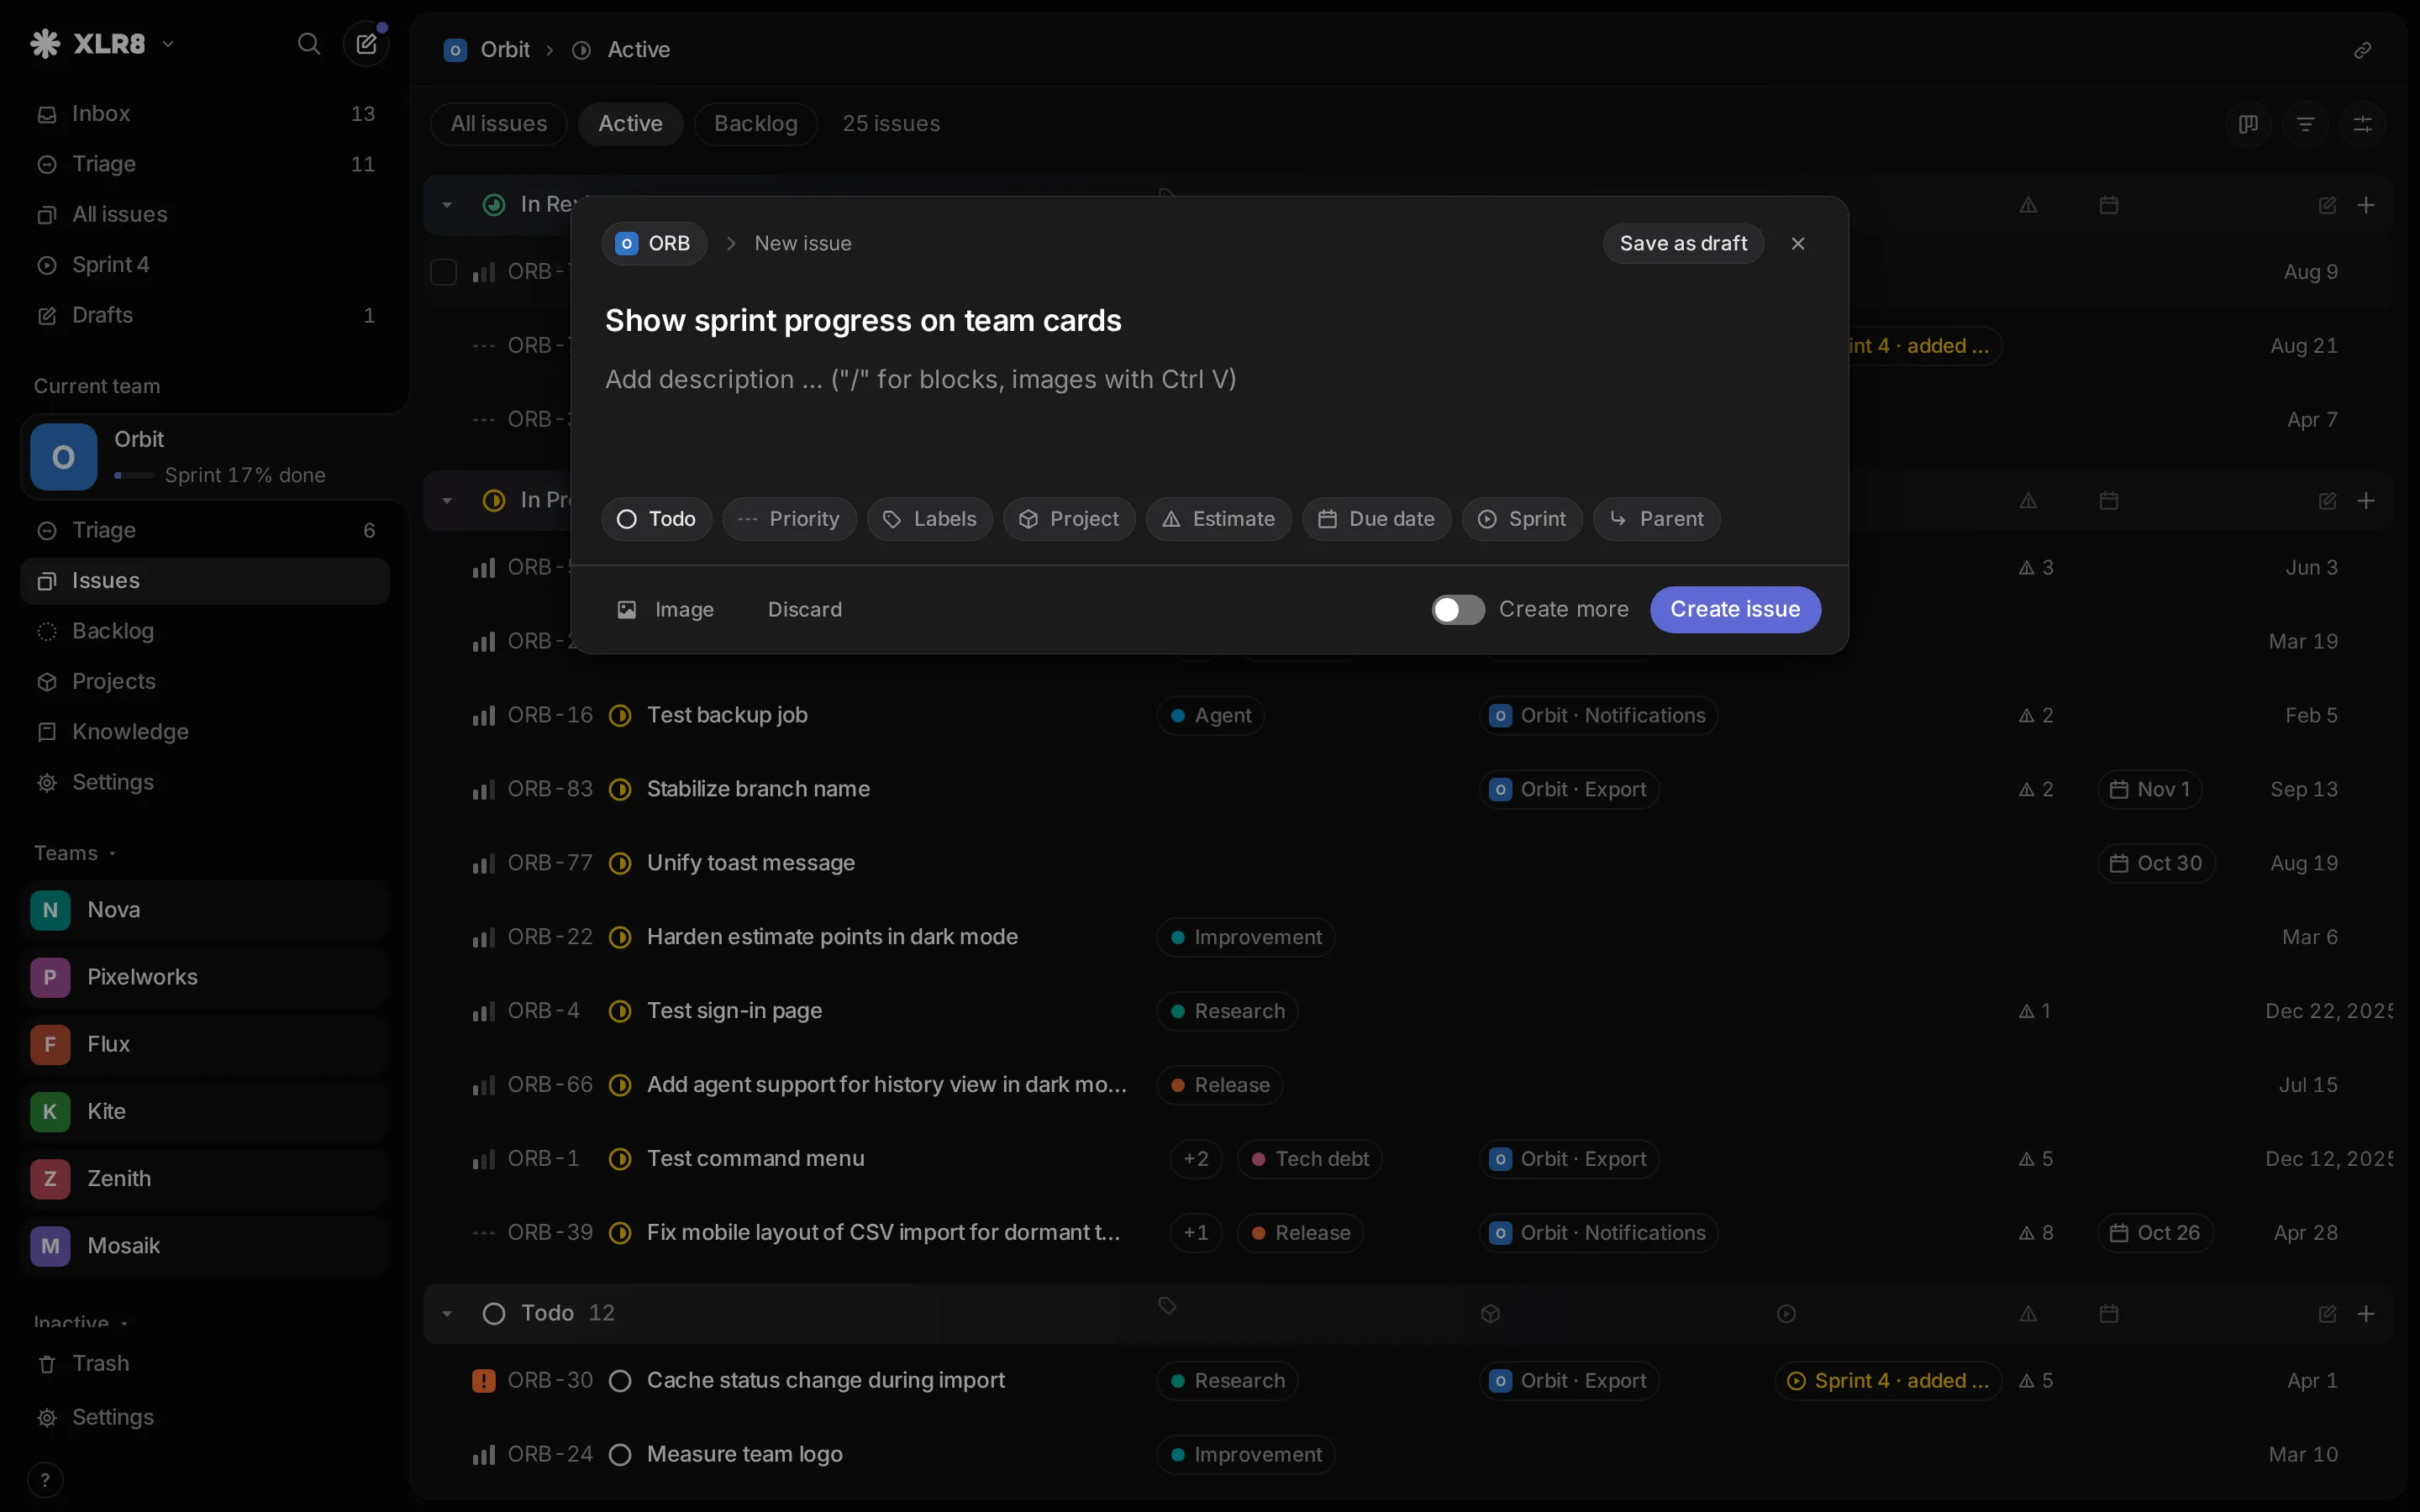
Section titled “Create issues”Press C anywhere to open New issue.
-
Type a title. Enter moves you to the description, which supports Markdown,
/for blocks and images pasted with CtrlCommand V. -
Set properties with the chips at the bottom: status, priority, labels, project, estimate, due date, sprint and parent. Each opens the same picker you use elsewhere. The team chip at the top picks the team.
-
Press CtrlCommand Enter or click Create issue.
To write several issues in a row, press CtrlCommand Shift Enter instead, or turn on Create more: the dialog stays open for the next one.
Press Esc to close the dialog without creating the issue. Your text stays as a draft; you find it under Drafts in the sidebar.
Create three or four issues so you have something to work with.
Move through the list
Section titled “Move through the list”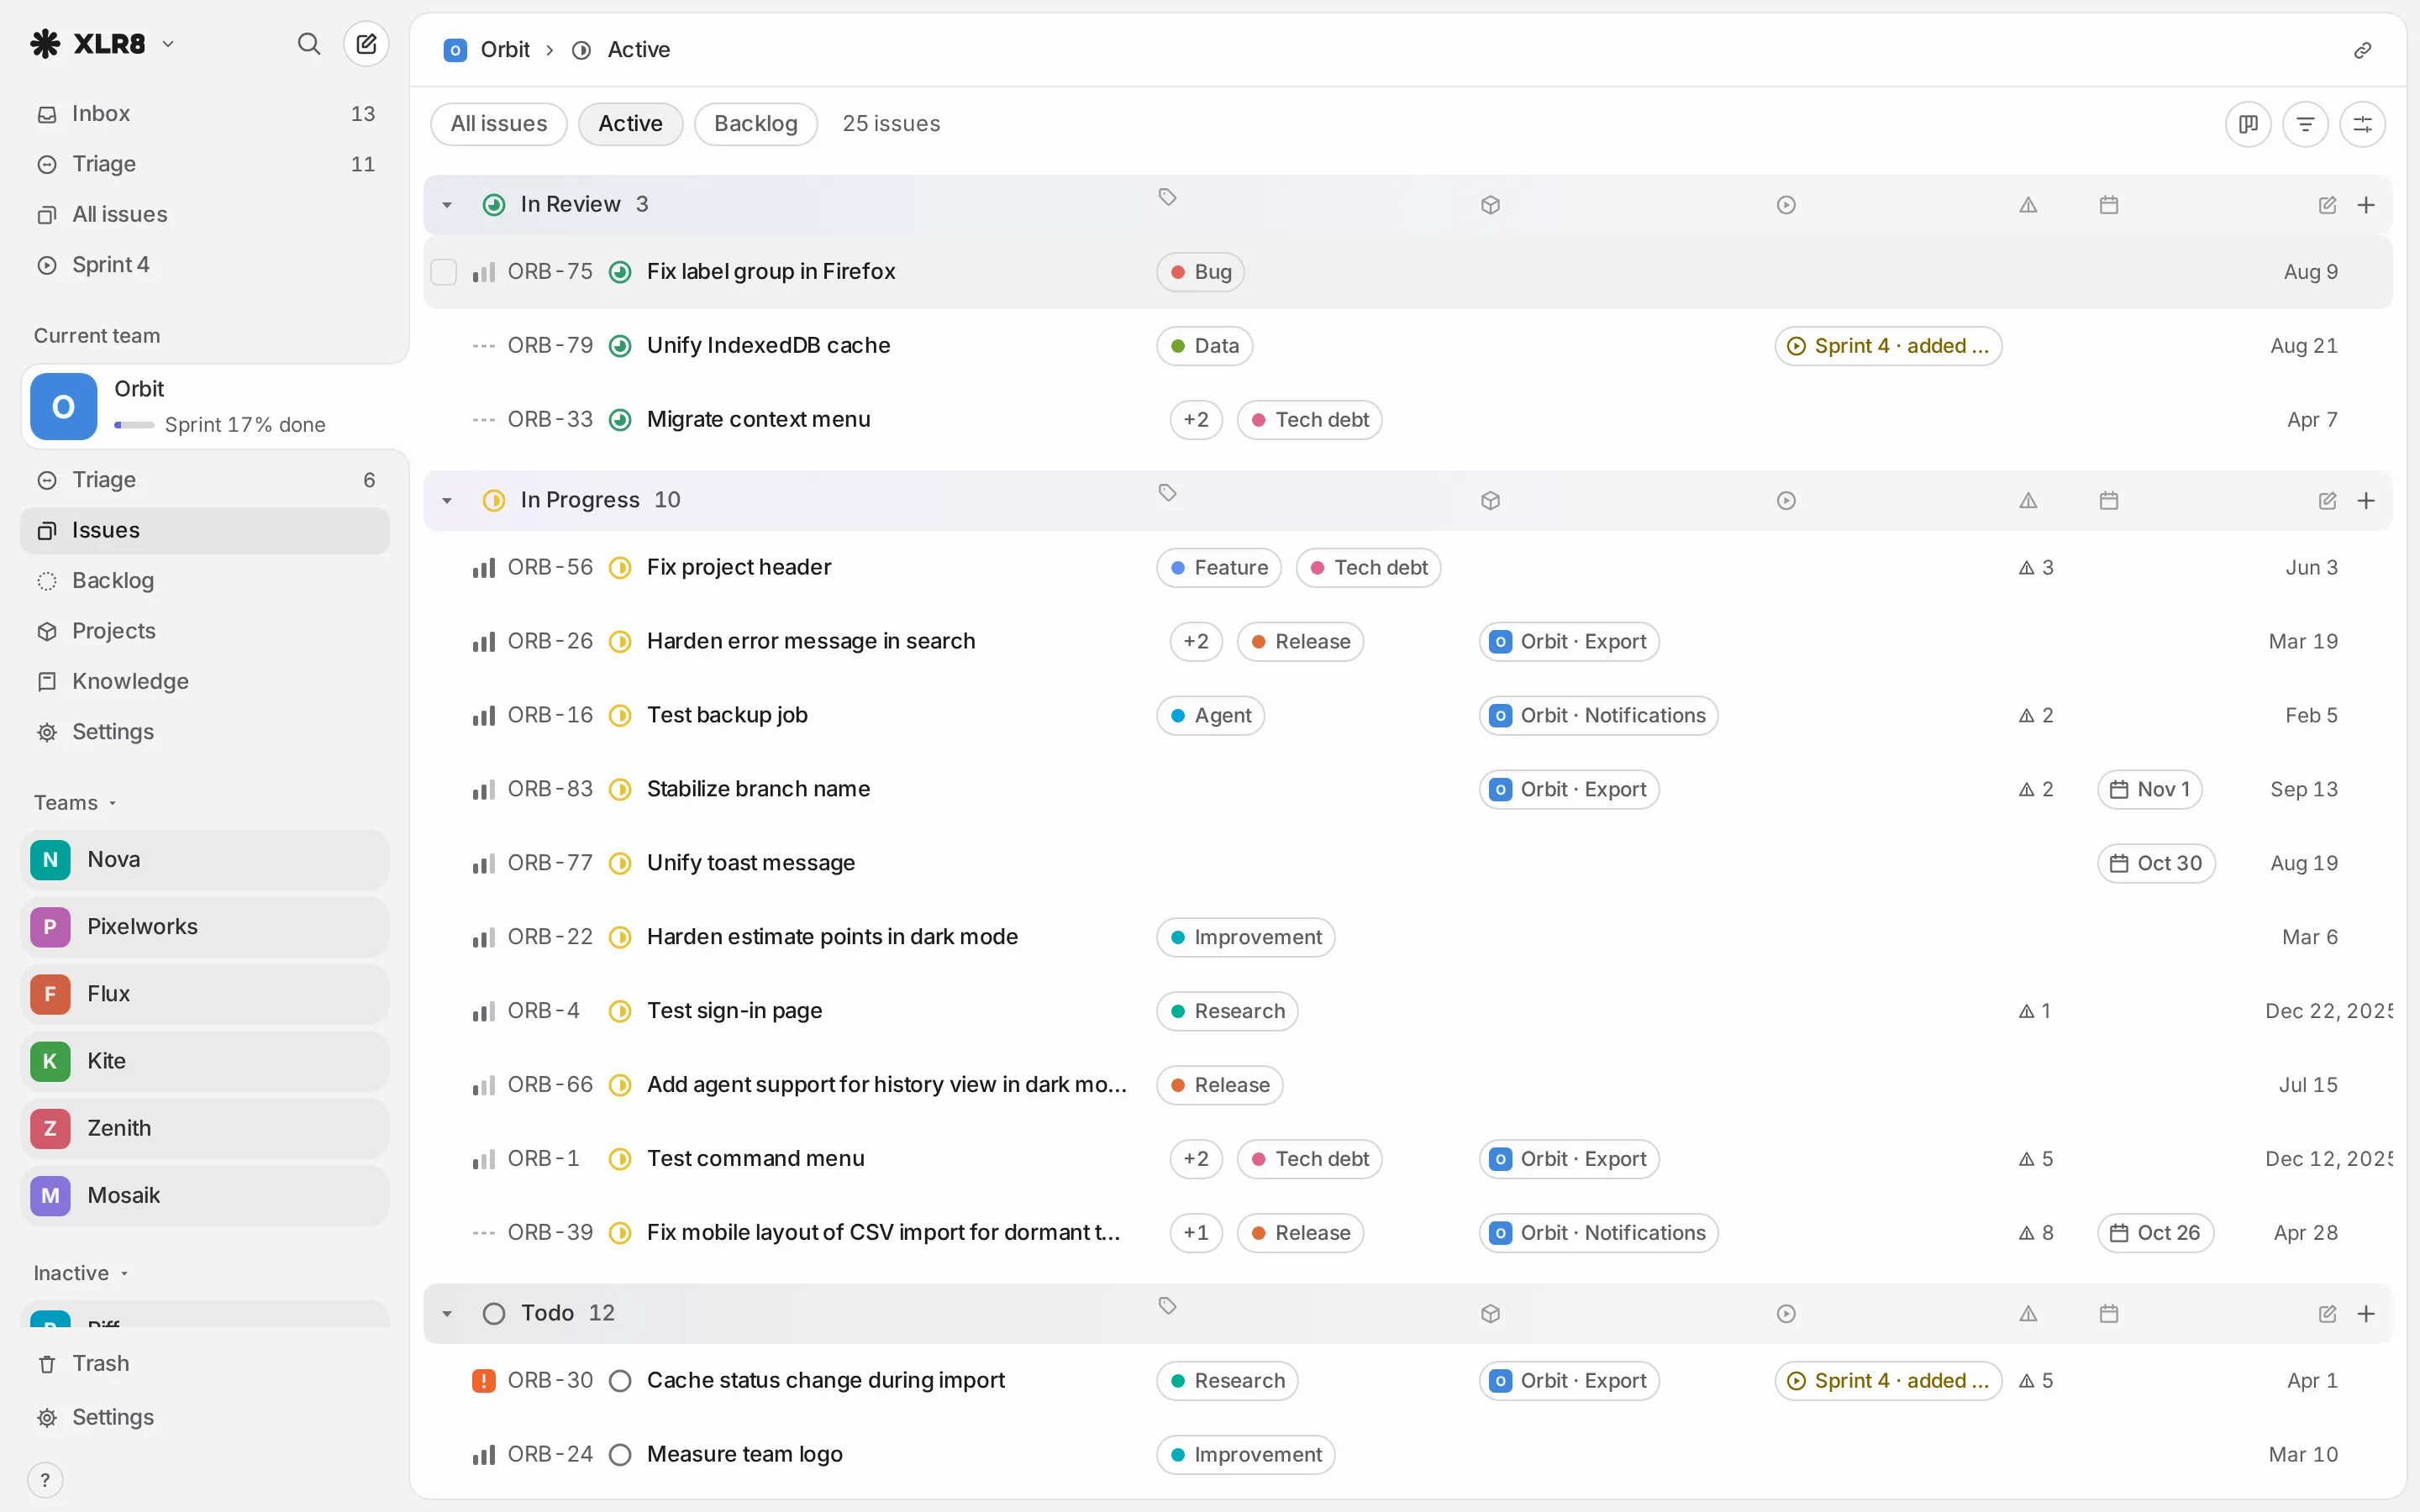
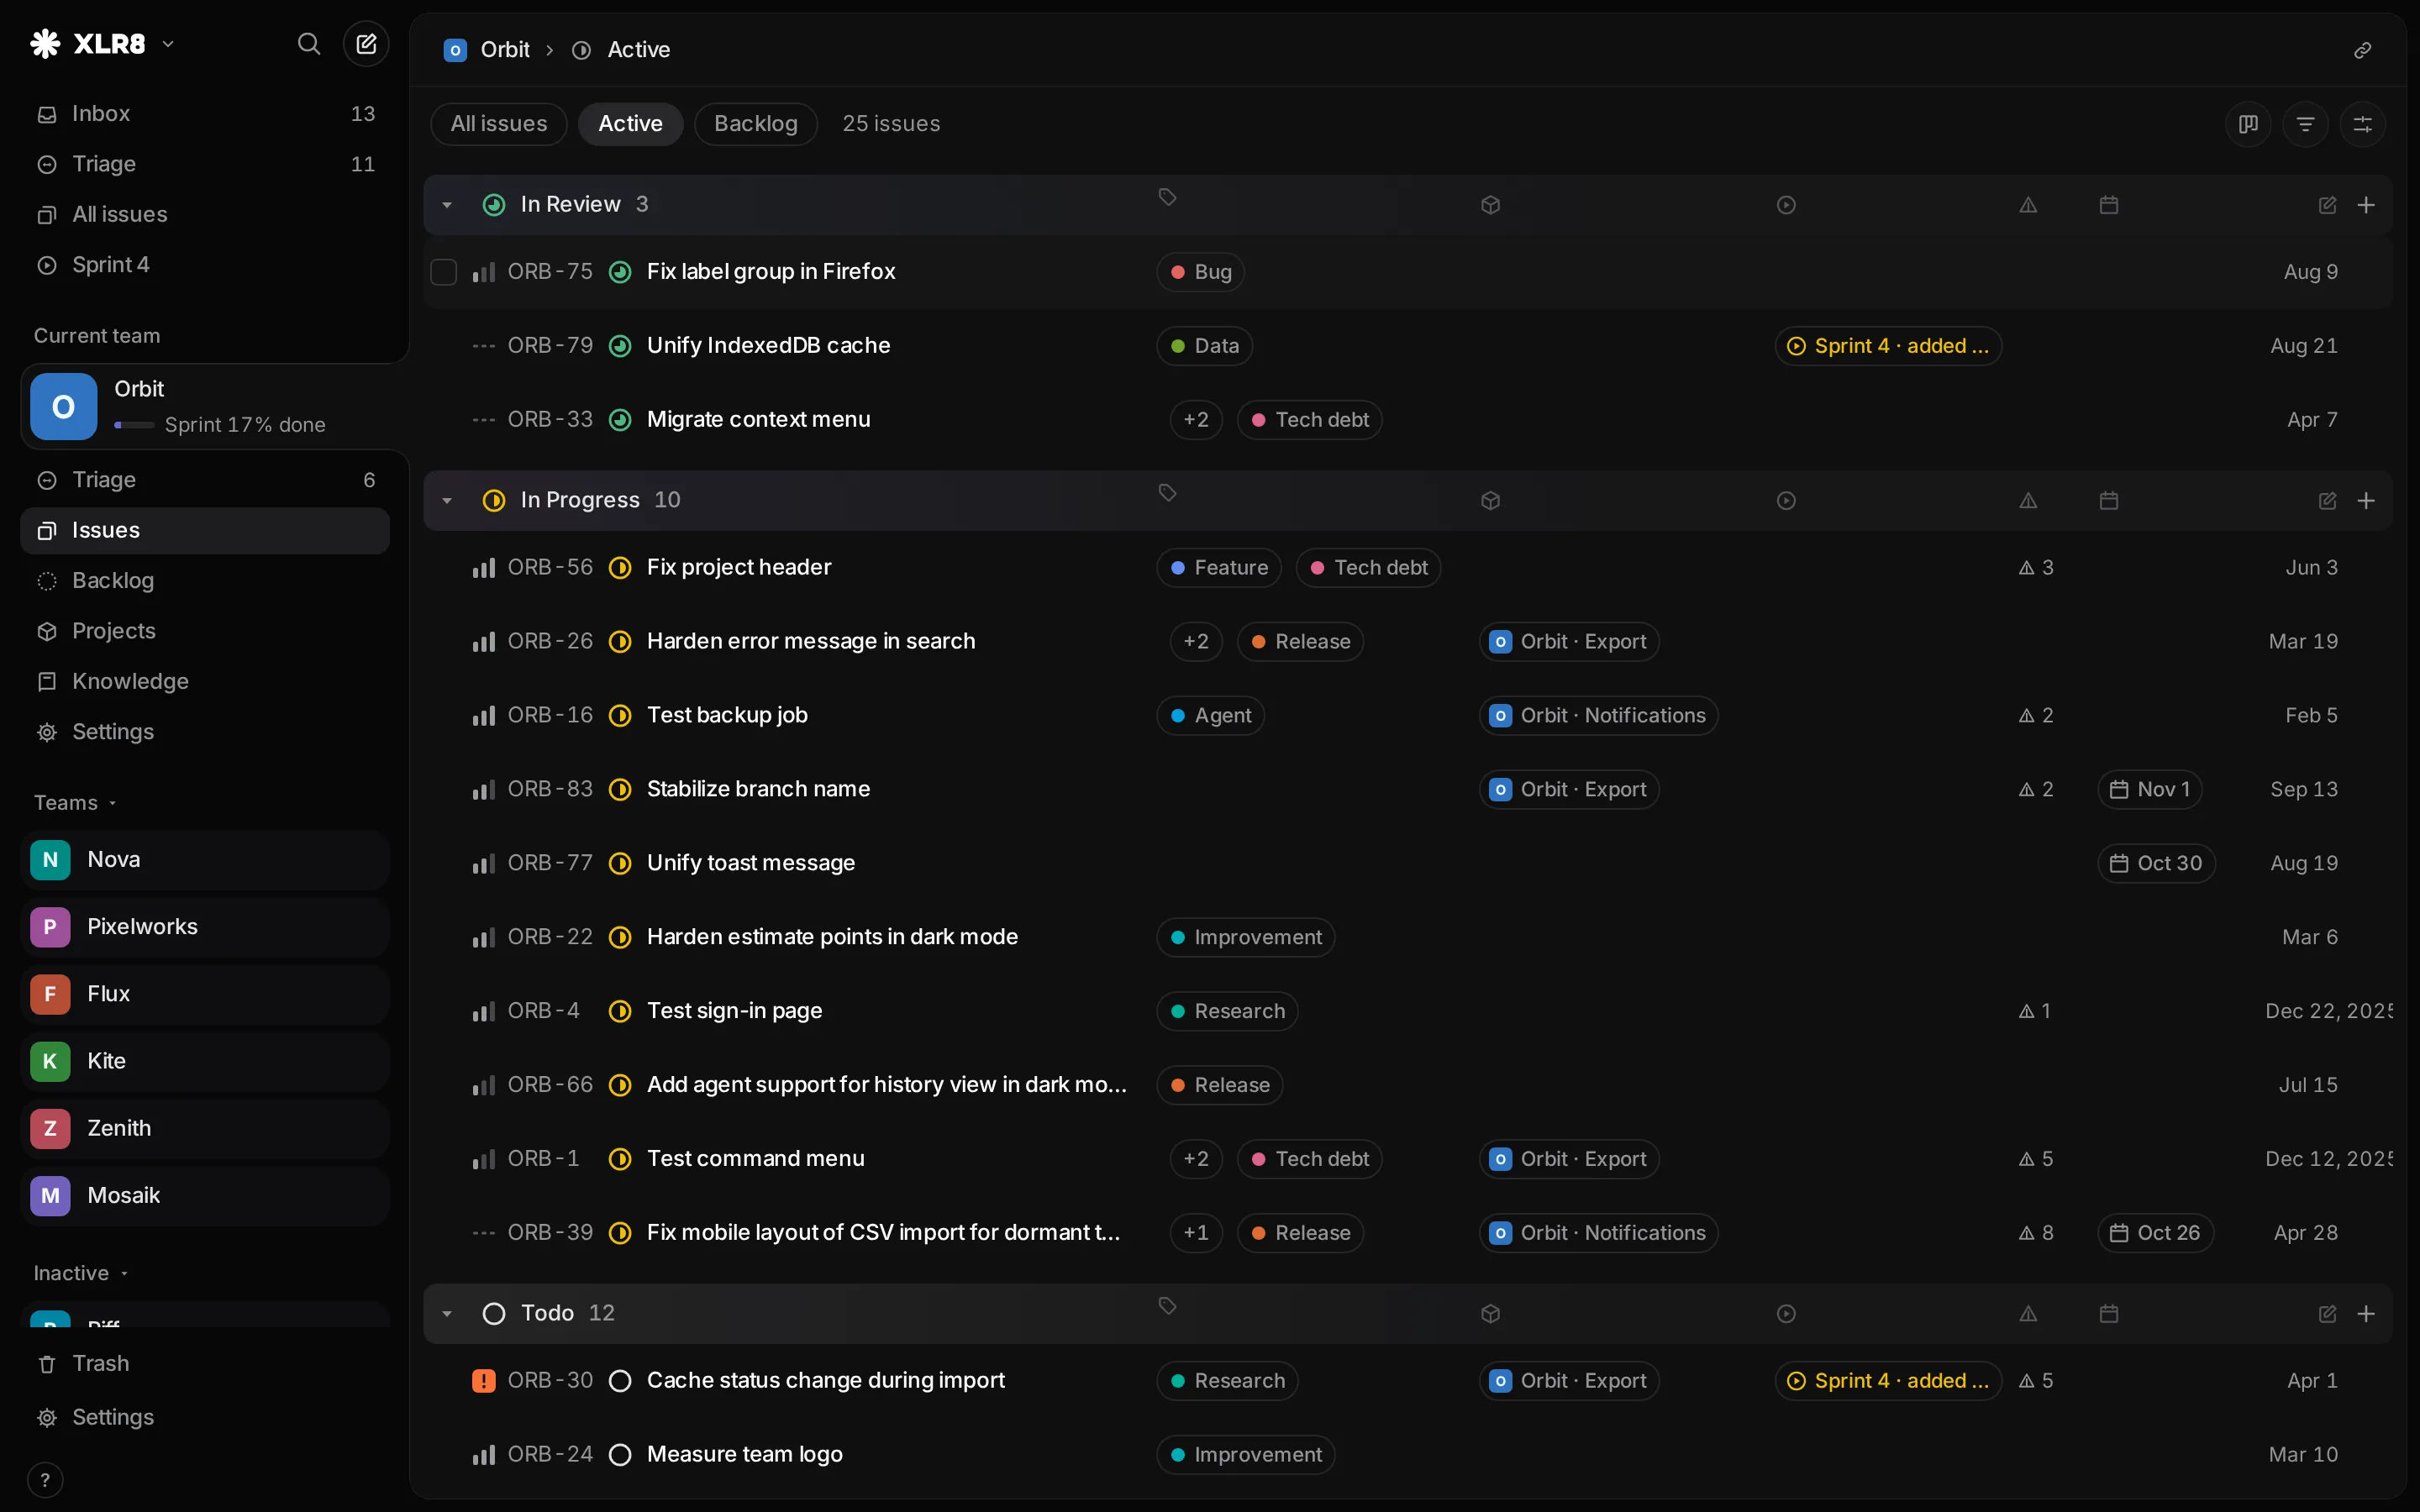
- J or Down arrow and K or Up arrow move the focus to the next or previous issue.
- Space opens a quick preview of the focused issue; press it again to close it.
- Enter opens the issue. Esc takes you back to the list.
- X selects the focused issue. Most actions then apply to all selected issues.
Change the status
Section titled “Change the status”Focus an issue and press S. The status picker opens:
- type to filter, then press Enter;
- or press a digit: 1 to 9 pick the statuses in workflow order.
Priority (P, digits 0 to 4) and labels (L, type to filter) open the same kind of picker. Made a mistake? CtrlCommand Z undoes it.
The command menu
Section titled “The command menu”Press CtrlCommand K to open the command menu. It lists every action that fits where you are, with its shortcut next to it. Type a few letters to find one: “status”, “sprint”, “team”. When you do not remember a shortcut, the command menu is the way to find it.
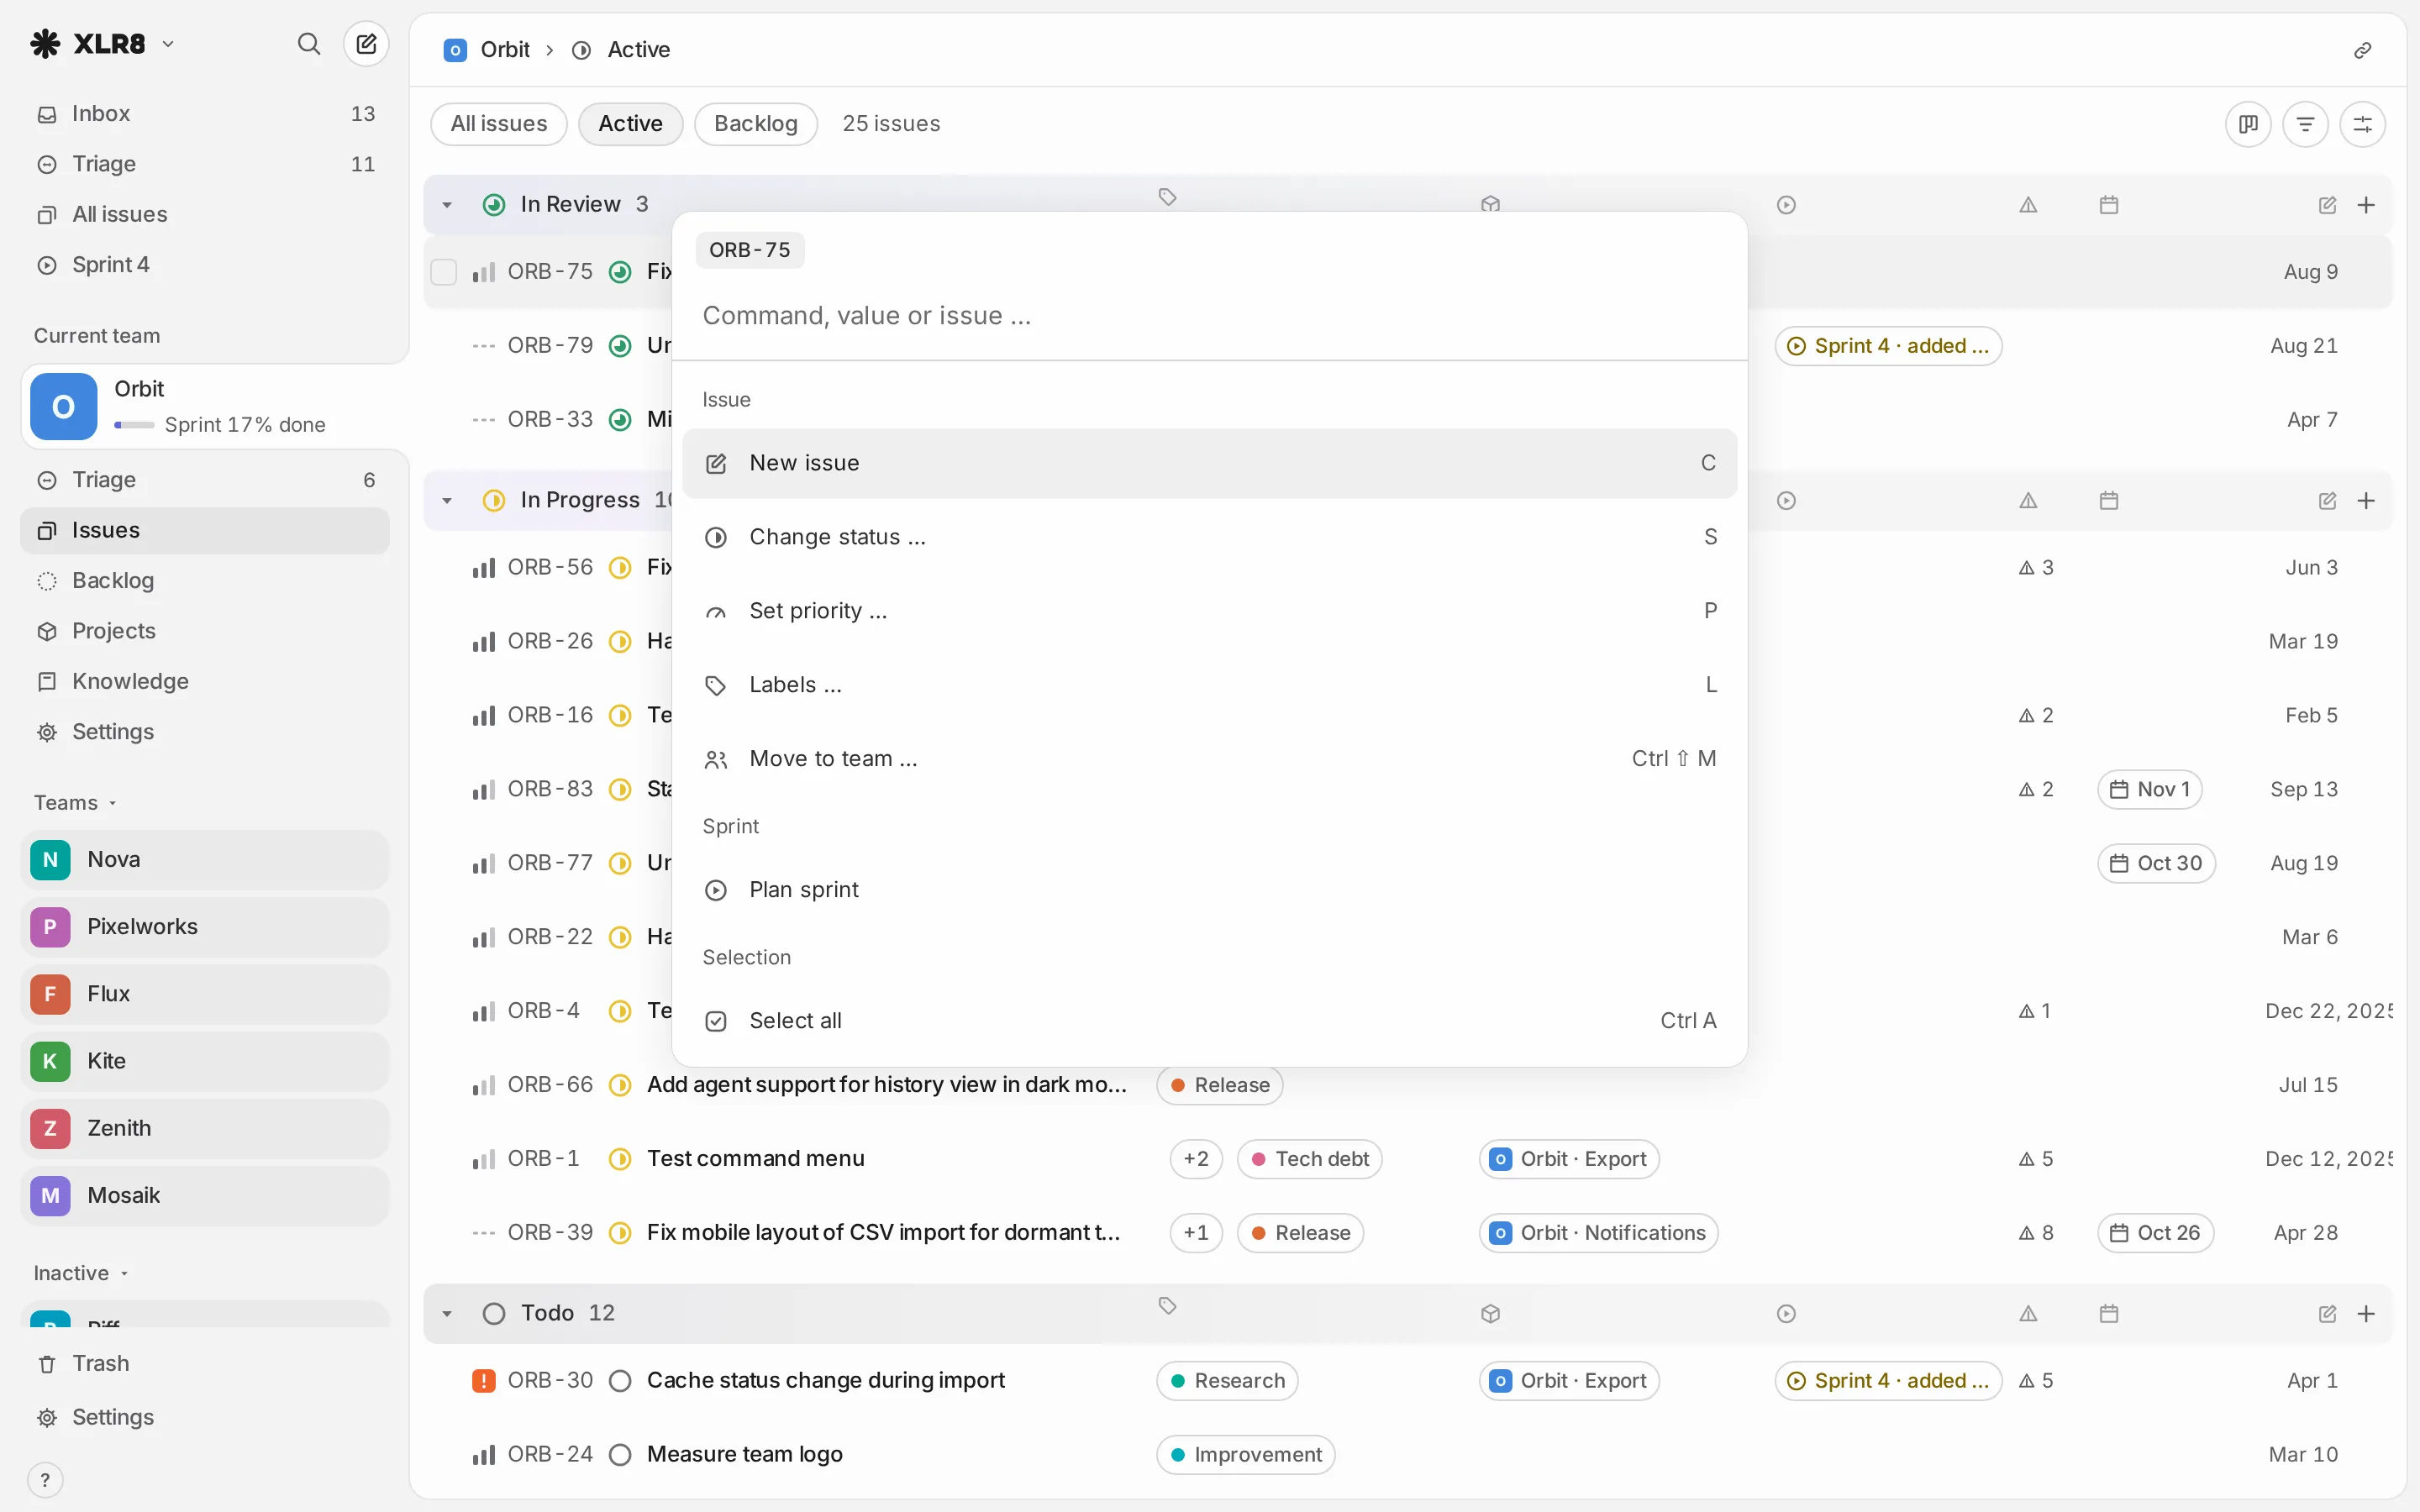
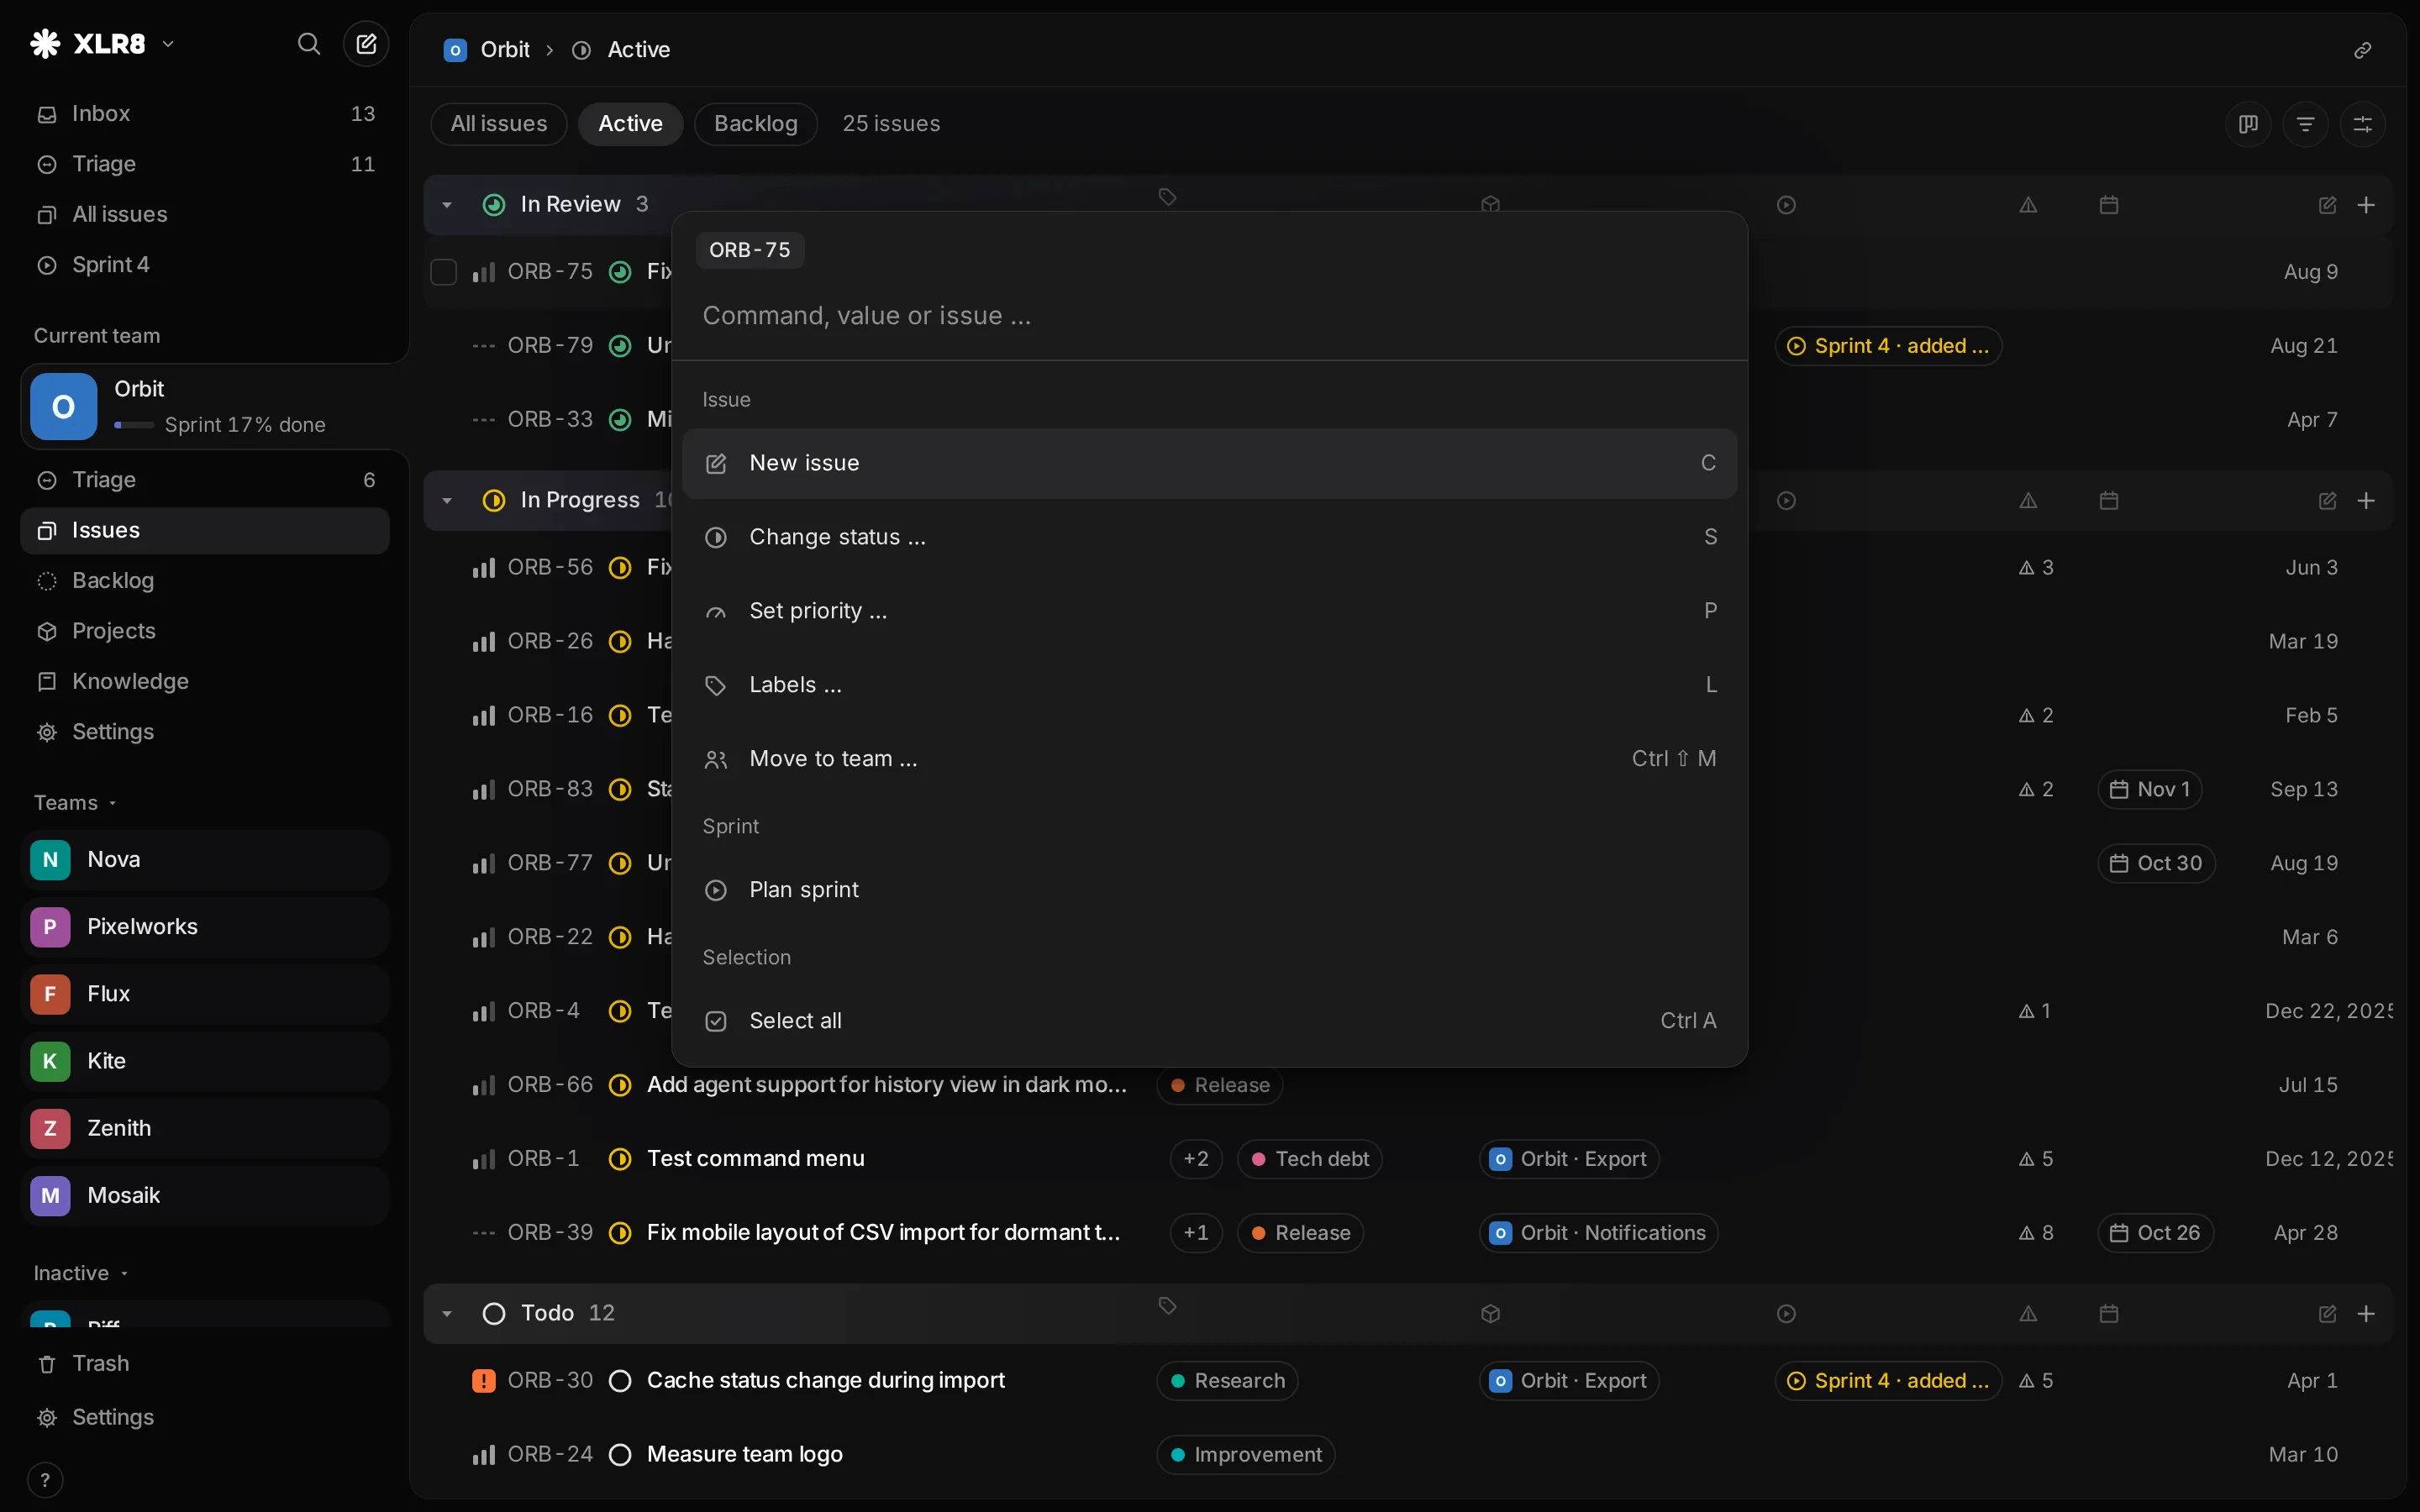
Two more keys to remember:
- ? shows all keyboard shortcuts.
- / searches your issues.
Where next
Section titled “Where next”- Issues: everything an issue can hold, from sub-issues to relations.
- Triage and inbox: where new issues and agent work arrive.
- Sprints: plan a sprint of work across all teams.
- Connect an agent: let Claude Code, Codex or claude.ai work with your issues.
- Keyboard shortcuts: the full list.